Turn your thumbs green with these 10 hot tips for gardening in tiny spaces!
Living in a tiny house often means living with a small yard. (Or no yard at all…)
But that doesn’t mean that you can’t have a luscious garden to decorate your space with flowers and grow tasty fresh herbs and vegetables.
Growing some of your own food and medicine instead of a lawn can drastically improve your environmental impact as well, while providing ample opportunities to connect with your loved ones.

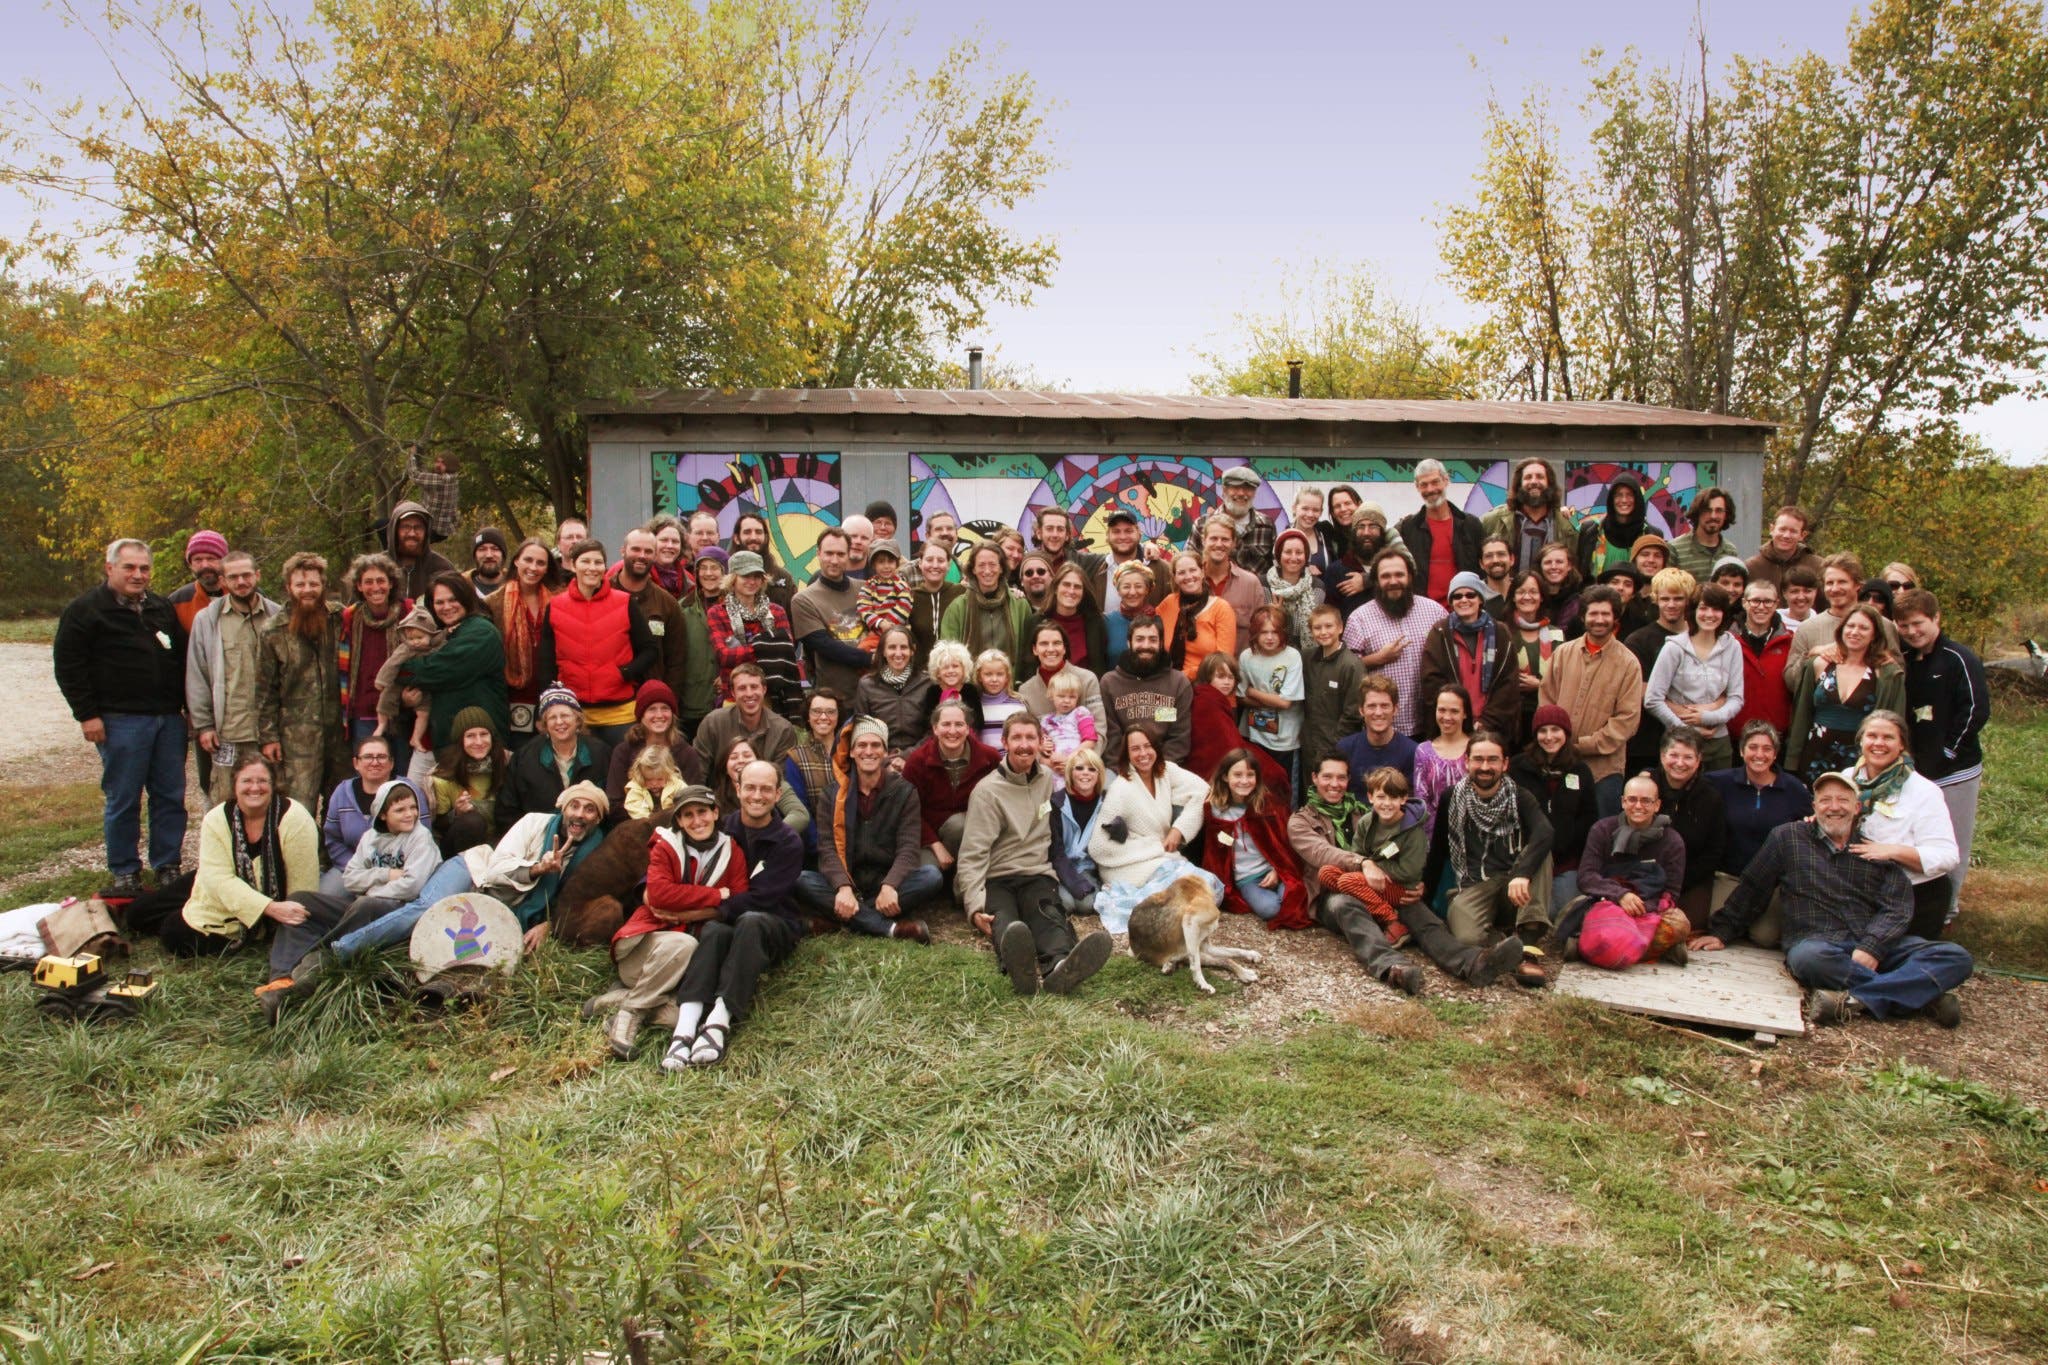
The folks at Dancing Rabbit Eco-village have been doing this for years, and I can tell you from personal experience, there’s nothing better than walking out your front door to harvest an armload of fresh beets for supper. (If you want to see some cutting edge eco-gardening first hand and pick up a few insider tricks of the trade from the experts, consider visiting Dancing Rabbit sometime soon.)
Below you will find the Tiny House Blog top 10 tips for gardening in tiny spaces.
10. Build an herb spiral.

Herbs are an invaluable resource when it comes to turning your bland day-to-day staples into delicious meals that will amaze your friends and family.
The herb spiral is the best of all worlds, if you want to grow them in a container. It’s compact, low-maintenance, and provides ideal habitat for a wide range of different plants. Varieties that prefer drier conditions, like rosemary and nettles, will have a happy home at the top of the spiral, while plants that need a little extra water, such as mint, will be able to keep their feet wet near the bottom.

The spiral can also hold a large amount of soil, which will give your plants plenty of room to grow and flourish. You will even have some nooks and crannies for plants like creeping thyme to take up residence, without robbing valuable space from your favorite herbs and flowers, like chamomile and Echinacea.
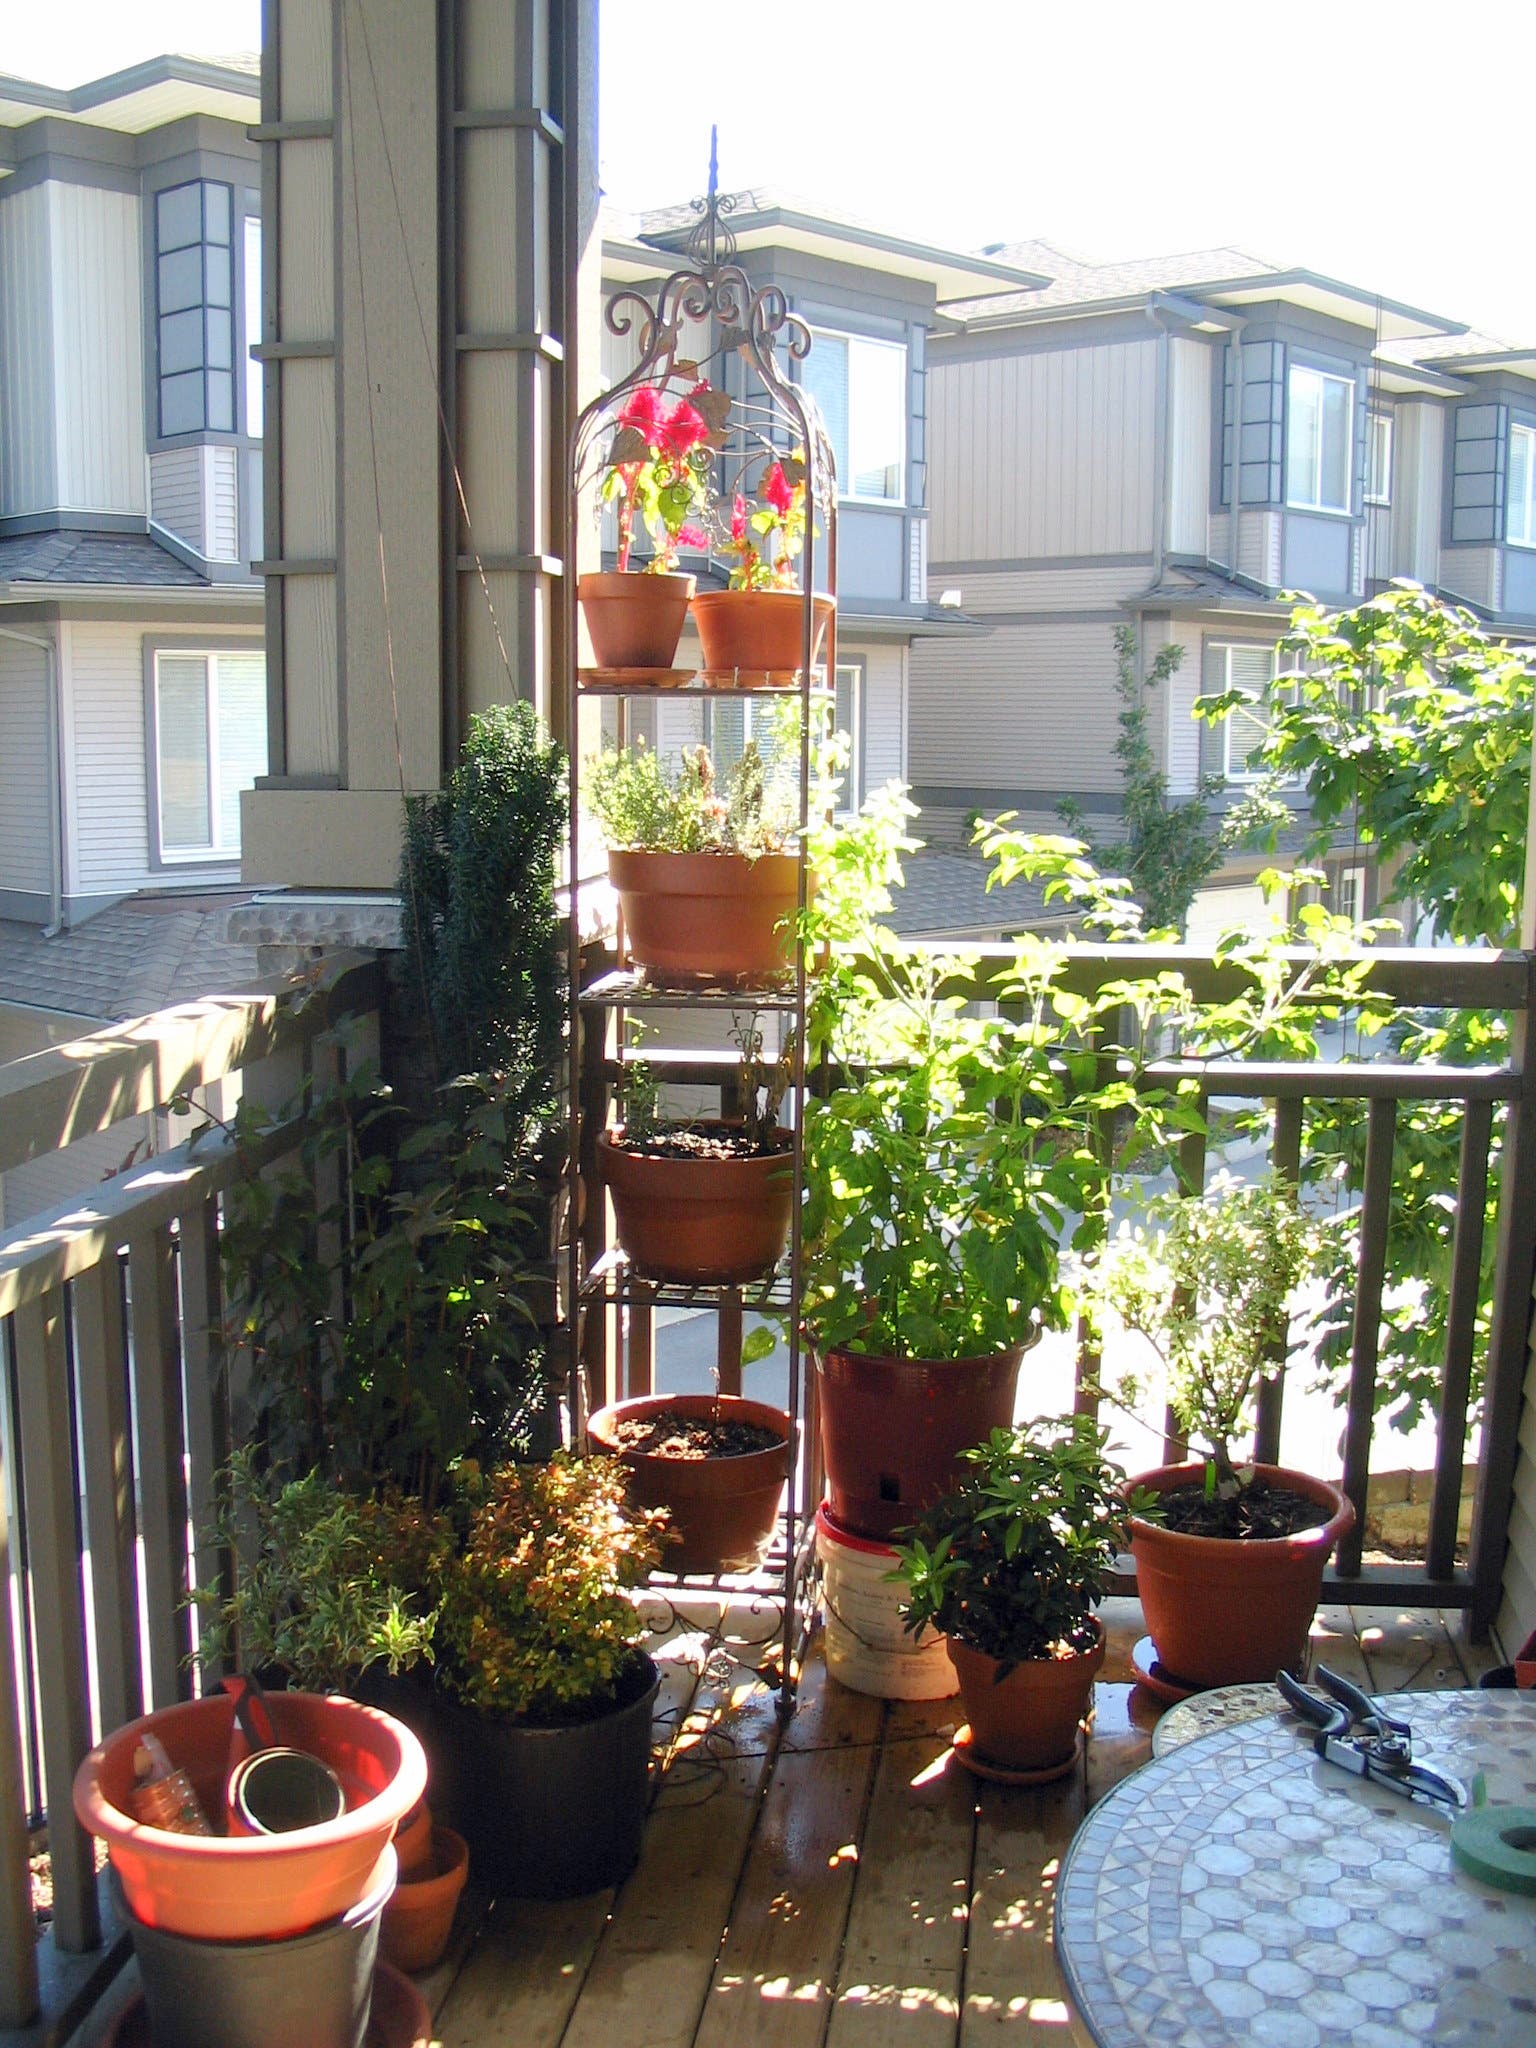
9. Optimize your vertical space.

By finding a way to make use of vertical space in your gardening area, you have the potential to multiply the surface area plants can use to produce something for you by several factors.

Install some shelves and trellises along your walls to catch that sunlight. Add a hook anywhere you can to hang a plant. If you don’t have much vertical structure to utilize, build it. Whatever you invest here will pay huge dividends in terms of produce over time.
8. Stack functions.
Take some time to decide what you really want out of your garden.
Is privacy a priority? Do you want a beautiful spot to relax, full of flowers and colorful foliage? Do you want to grow your own tea and medicine? Or are you looking to reduce your food bill by growing your own organic greens?
Whatever your goals are, when you’re working within a limited space, it’s important that each plant you select be able to meet more than one need.

For example, if you want a privacy screen, you can grow something like Jerusalem artichokes. They’re tall and produce dense foliage, which is perfect for warding off the prying eyes of neighbors and shading plants that don’t need sun throughout the day. In the meantime, they bloom with lovely yellow flowers while yielding pounds of delicious edible tubers – they even provide a habitat for natural predators that will protect your other plants from pests without having to spray harsh chemicals.
7. Keep aesthetics in mind.

To get the most out of your tiny house garden, it needs to be beautiful.
Spend some time sitting in the space where your garden is going to be and imagine how you would like it to look. Consider your views from different windows, or how passersby will see it from the street.
Choose your focal point. Combine different shapes and sizes of plants. Mix up your colors or go for a sophisticated monochromatic scheme. Draw the eye to different sections of the garden with trailing vines, and throw in a few tasteful ornaments to inspire you.
6. Learn about companion planting.

Plants are often specialists, so they definitely benefit from a little teamwork. If you know what your plants do best, you can put them together in carefully designed plant guilds where the whole is greater than the sum of its individual parts.
For instance, some flowers, such as asters or hollyhocks, work wonders for attracting pollinators to your favorite fruit crops, like tomatoes. Others are fragrant, confusing pest insects by making it more difficult for them to find places to lay their eggs. The most widely known example of companion planting is the Indigenous American ‘three sisters’ garden, consisting of corn, beans and winter squash, (sometimes including sunflowers as well).

Fortunately, most plants play nicely together, but every once in a while, allopathy can be a concern. (Allopathy is when a plant exudes chemicals that impact the growth of its neighbors.) Fennel, for example, prefers to live on its own. If you have walnuts or eucalyptus growing on your property, they may present you with some challenges.
5. Learn about basic plant care.

Obviously, if your plants are going to stand a chance, they need to have sun, soil and water in the right quantities.
Once you have a clear sense of which plants you want to include in your garden, you can easily do a little a research to figure out what they need and account for those factors in your overall design plan.
4. Make harvesting easy.

When you’re designing your garden, don’t forget to leave space to move around in. Otherwise, harvesting will be difficult and frustrating, and you’ll probably feel less inclined to do it when the time comes – not to mention that you’ll be more likely to miss any diseases or other problems that may emerge.

An easy way to simplify the harvesting of root crops in general, especially potatoes, is to grow them in pouches. When the foliage dies back, all you have to do is turn out your potato pouches into a wheelbarrow, pick out your tasty spuds, and then dump the remaining soil wherever you want it to be for next year’s planting.
3. Winter is coming.

If you want to have perennials, and you live in an area where winters can be harsh and cold, you may need to ensure that you have some indoor space for your precious potted plants to hang out through the cold months.
You can also build planter boxes with greenhouse plastic covers. Your plants may not survive the harshest Canadian blizzard, but at least you’ll be able to extend your growing season.
(Shout out to the Game of Thrones fans.)
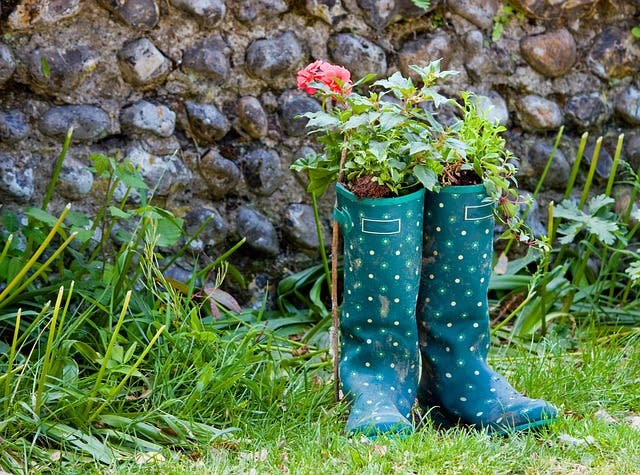
2. Reuse all of your old containers.

What do you do with those old galoshes, when your kids outgrow them? Or the Louis Vuitton purse that went out of style last year?
Turn them into containers for your plants.
Hollow logs, old tires, tackle boxes, chipped coffee mugs…

With a few modifications, they can all make splendid homes for your botanical friends.
(I’ve even seen cactus growing inside a broken porcelain doll head… nothing creepy about that at all.)
1. Invite fungi to the party.

Mushrooms are an excellent way to make use of waste wood products and produce delicious food.

A common sequence is to inoculate oak cordwood with shitake mycelium, followed by oyster mushrooms when the shitake has run its course, and ending with lion’s mane mushrooms when the oysters in turn are spent. Each species of fungi is edible and nutritious, and they each utilize different parts of the base wood, so you can get the maximum benefit of your initial investment.

Plus, mushrooms don’t need light to grow. You can inoculate your logs and slide them underneath the foliage where it’s warm and damp. You’ll get an additional yield from your garden without compromising your growing space, and after the years have passed and the mushroom logs are finally broken down, you’ll have some primo compost to add to your soil.
(No! I WILL NOT make a ‘fun guy’ joke!)
If you’re interested in learning the details about inoculating base material with mushroom spawn, check out Dan Durica’s video on converting depleted shitake logs into delicious oyster mushrooms:
If you still need more ideas, or you want some help in figuring out how to balance all of these different factors in your tiny house garden design, Dancing Rabbit Eco-village is available to help. Consider booking some time to visit us soon – our experienced gardeners will be happy impart some of their wisdom, and even teach you skills like canning or how to use a solar food dehydrator. Visit our website now to check out some of the ways to can visit us.
I live in a float cabin next to a steep granite cliff, so I don”t have land space for a garden, and the little bit I do have is prone to critter attack. My solution was a floating garden next to my cabin. I pull it in to work, and push it out away from shore for protection. Four 3X10 raised beds can grow a lot of things to eat during spring and summer. I do succession planting and keep hardy things in the ground through winter. Pots on the deck with protective cages (critters again) give me space for things that take up a lot of space like peppers, squash, peas and beans. – Margy http://powellriverbooks.blogspot.com/search/label/Gardening
Great article for tiny spaces, it has some really good tips. I live in an apartment and my balcony is my little garden, so I know what is to grow plants in small spaces! Thanks for sharing!
I love container gardens because they are a lot less demanding. But I had never given much thought to growing vegetables in containers. For some reason, it thought the idea worked best for flowers. This article is an eye-opener for me. Thanks!