
Guest Post by Grant Olson
Anna Marie and I met in a tiny home (or at least near to one) – a 7’x10′ cabin on wheels with a sleeping loft, a climbing wall, and a single light fixture. It was parked next to a chicken yard, and often mistaken for the coop.
We’ve missed that little house ever since we moved out.
When we first considered returning to a tiny lifestyle, we went through a bit of self-evaluation to prepare for the design phase. We called this the ‘presign phase’, and here it is, succinctly:
1. Goals
I work with a wonderful gal who frequently reminds me to ‘begin as you mean to go’. Not sure if we meant to go anywhere in particular, Anna Marie and I sat down one rainy afternoon to jot down some rough five-year goals. We didn’t take it too seriously, but it was enormously helpful nonetheless. It helped us to identify the most important facets of a prospective future (eating, traveling, farming and teaching) and encouraged us to think about qualities of a tiny house that were conducive to that future (kitchen-centric, mobile, outdoor-oriented, connected).
Home
- build a tiny house
- purchase a piece of land
- dig a well
- operate off the grid
- grow food
- train Tuco
- give away most of our stuff
- sell our other stuff
Work
- play lottery
- win lottery
- retire and focus on ‘Play’
-or- - plan work retreats focused on farming and small businessing
- begin home jewelry business
- open online store
- sell merch locally
- create and maintain blog
- publish diy guides online
- begin diy book
- teach diy workshops
- leave current jobs in better shape than we found them
- begin transition to full-time farming
Play
- travel to Europe
- buy a truck
- convert truck to a camper
- camp in the Boundary Waters
- revisit Door County
- visit Lambeau Field
- start climbing again at Devil’s Lake
- watch entire 007 anthology
- spend 288 hours (or more) each year with friends and family
- drive to New Orleans
Eat
- dine at Lola’s
- find perfect gluten-free pizza recipe
- find perfect gluten-free pie crust recipe
- make gallons of pickles
- boil maple sap to syrup
- grow artichokes (successfully)
- sample every dwarf tomato variety
- brew more hard cider
- brew gluten-free beer
- start indoor citrus grove
- learn to fish
2. Time and Space
Budget and weight considerations had us leaning toward a 20′ trailer for our tiny house on wheels, which gave us a cube of space 20′ long by 8’6″ wide by 11’6″ tall. We wanted to live, move, and cook comfortably in that space. Excepting tools and a chest freezer, we wanted all of our possessions to fit there too.
Because every square inch matters in a tiny home, we took a close look at how much space we inhabit, as well as how much time we spend in each space.
In our current house with seven rooms, we spend nearly all of our time in just two – the kitchen and bedroom. We also spend a fair amount of time in the bathroom, and we use the dining room a couple times a week for hosting dinners. It was easy for us to cut two spare bedrooms and a living room from our design prep in order to focus on other spaces.
Knowing that we would use space differently in a tiny house, we wanted to allocate square footage based on the amount of time we would spend in each space. We took note of our daily routine, then roughly divided the square footage of the house into corresponding pieces (see graphs below). We tweaked the design of the house dozens of times, but when we finally settled on a floorplan, it still reflected the time/space ratio we had initially explored.

3. Inspiration
Though I’d read it several times already, Anna Marie and I paged through A Pattern Language together to gain a common vocabulary in discussing design elements for our tiny house.
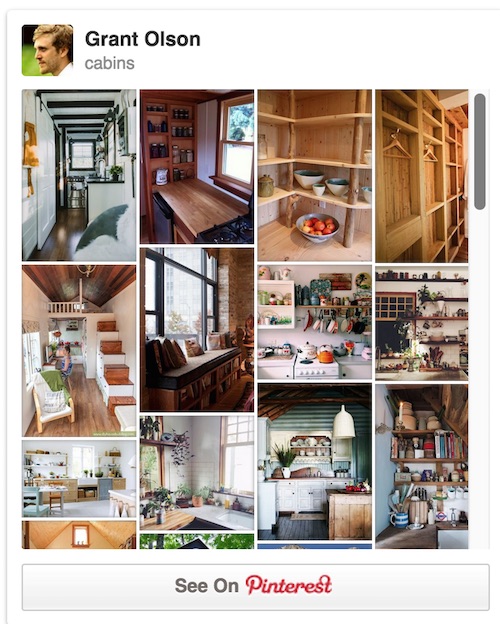
We also spent (and continue to spend) tons of time browsing the web for inspirational images. Pinterest has been an invaluable reference for collecting, organizing, and reviewing images that speak to us.
With these two elements – the language and the reference – it was much easier to discuss our likes, dislikes, dreams and nightmares as they related to the tiny house.
4. Sketches
We didn’t want to limit ourselves to building a copy of our Pinterest boards, and we had several ideas that we couldn’t quite describe to one another with words alone. Sketching out these ideas – particularly the ridiculous ones – seemed to give us the last bit of material we needed to start the design process.
As an aside, sketching our ideas outside of thoughts like ‘how much will this cost’ or ‘do physics allow this’ led to some of the more significant design elements we settled on, like a branching elm tree to hold up the loft and an indoor grove of lemon and lime trees.

We’ll discuss design in a later post, but we feel like the presign process (evaluation, needs assessment, or whatever else it may be called) is an incredibly important step to take for prospective owner-builders with resource constraints. It helped us to prioritize our time, money and space, and would do the same even for folks who are not considering a transition to a tiny house.
Republished from original at Canoe-Iowa
Oh, how fun! I’m smiling from ear to ear! Thanks for shareing the process as you go along! Looking forward to the next chapters…..of the blog and your lives! Happiness!
Will follow along with you as your journey begins with this tiny home
Refreshing to know SOMEONE out there designing even tiny houses knows about A Pattern Language! Love that book. Used it when we remodeled our 1929 bungalow.
Grant, with this post and continued posts you will already have the beginnings of your online course to add to your “work” list above. Well thought out and smart with the zones and pie chart. Kudos to you and Anne Marie.
Distill what you need, what you like, and what is possible down to their simplest essence then add enough function and aesthetics to make you smile. Play with it, look at it from different angles, bounce it off a few friends who just might offer insights you hadn’t thought of but don’t let them talk you out of something you know is right for you. As much as you can, try essential functions in similar arrangements. Mark out spaces with masking tape and live with them for a while. Make scale models and see how the light filters in through the windows using a desk lamp for the sun. Make a scale model mini you to move around the model house for a better sense of space. Make life size 3D mockups of components with cardboard boxes and see how comfortable your spacing is. Adopt, adapt, improve. Start with Plan A but maybe somewhere past Plan Z2000 it finally comes together. That’s my method anyway.
At some point you have to decide that no matter what else changes in your life you don’t need to make any more changes in your plan and it’s time to translate it into reality. I think I’m at Plan Z1999, only one more to go and I’m ready to build!
Very helpful article! I can’t wait for the book and DIY guides from this guy.
I worked with Grant years ago. One day I shared my dream of building a tiny house with him. As “the computer guy” on the team, I was scared to do so. But that was before I knew Grant. He spent hours dreaming and designing with me. His pre-design scheming and drawings gave me the confidence to move the project forward. Today, I’m the proud owner of a tiny-house-sauna-mashup, and the founder of The 612 Sauna Society. I love the space, the lifestyle, and all the wonderful friends it has brought into my life. None of it would have happened without Grant’s early support and guidance. Thank you, Grant, for helping me design the space of my dreams, and for helping make Minneapolis a warmer and more connected place to park : )