Day seven started out earlier than usual as we were ending the day a little earlier and we were loosing a couple of people who had to head home because of distance and work. We were still very much behind schedule. With Andrew being ill much of the week we had not completed as much as we needed to and we wanted to at least get a start on the plastering.
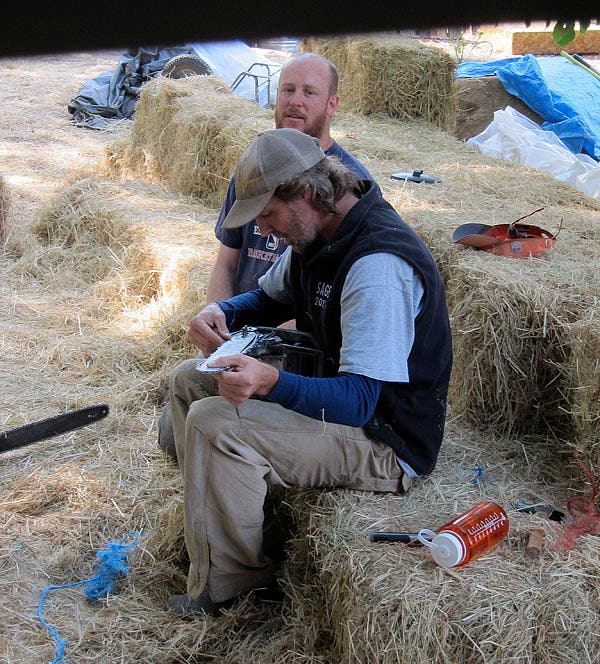
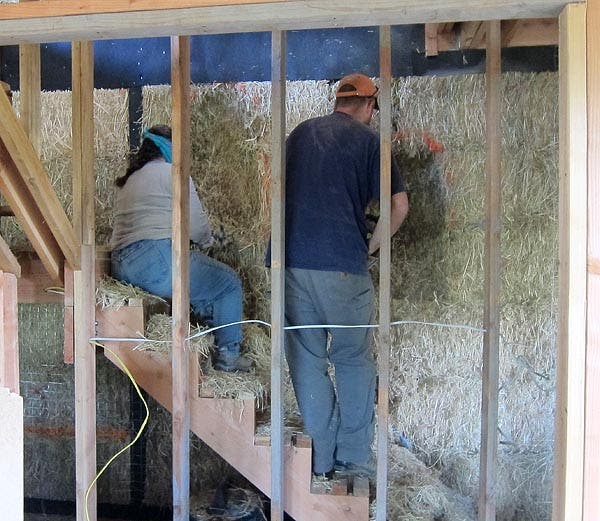
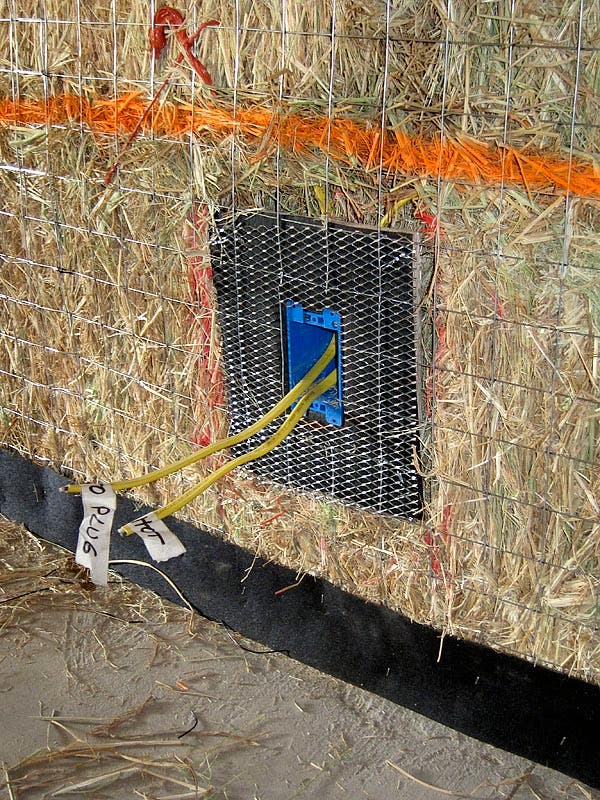
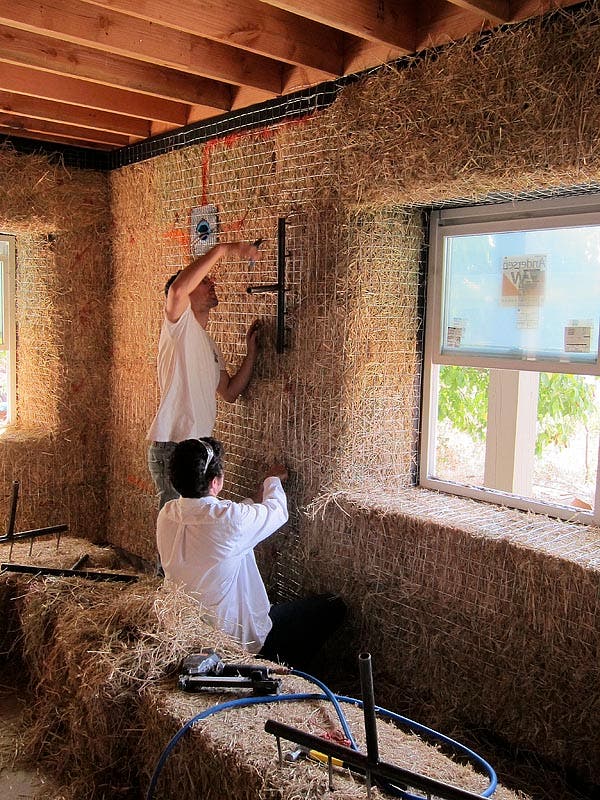
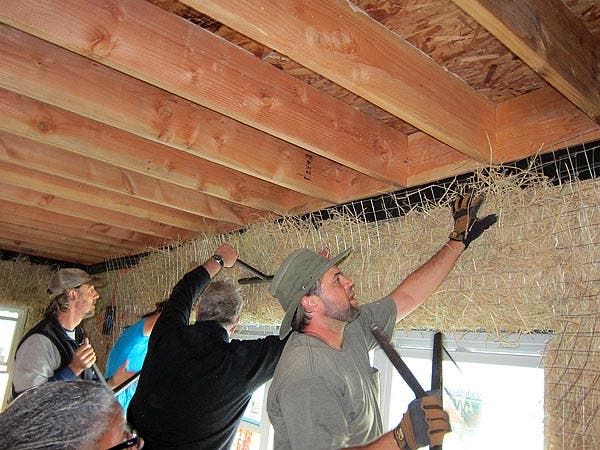
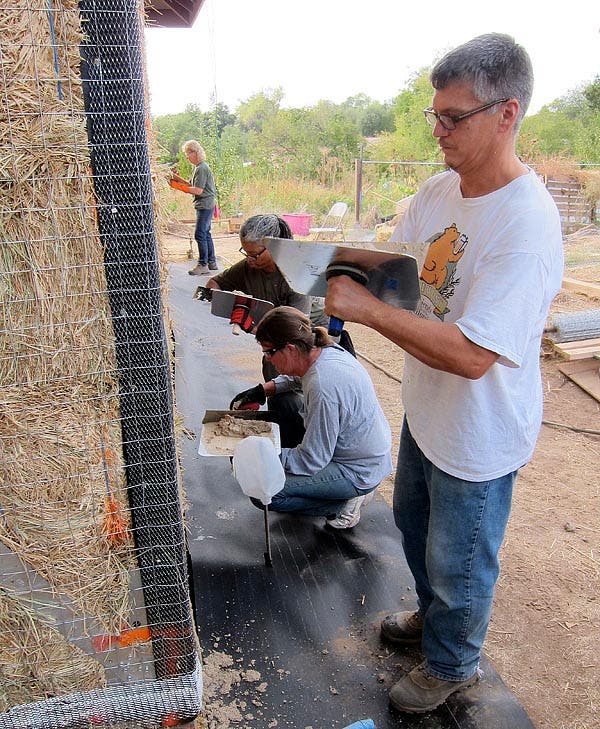
We spent all morning doing finishing work around the windows. Curving them gently in, stretching the mesh and making sure they were tight enough to accept the plaster. There was still electrical work to complete. Niches to cut out, special mesh to put on all exposed wood, etc. We kept very busy.
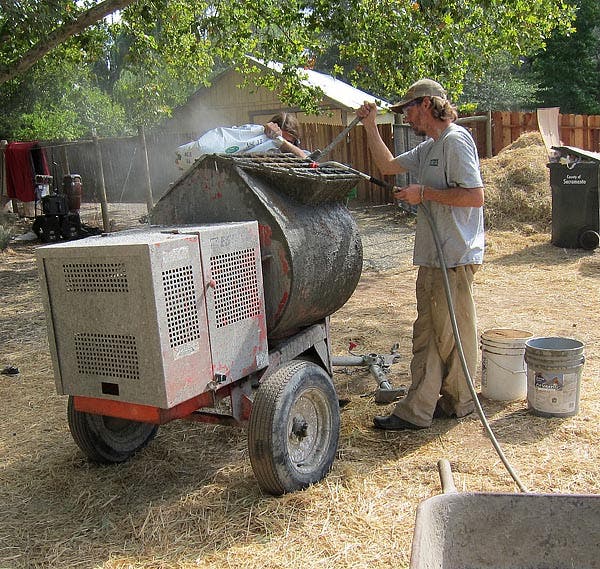
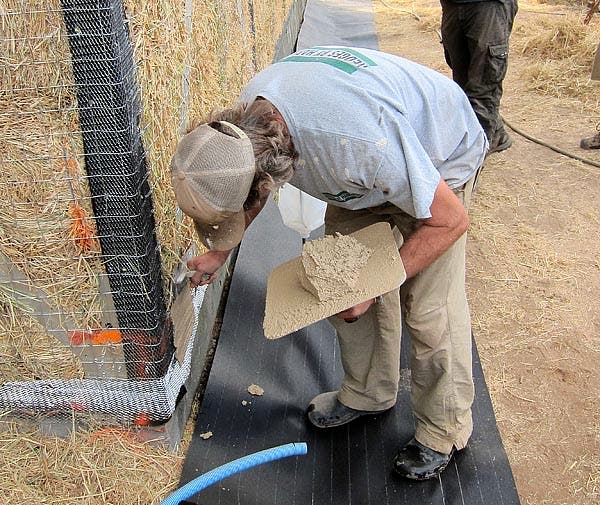
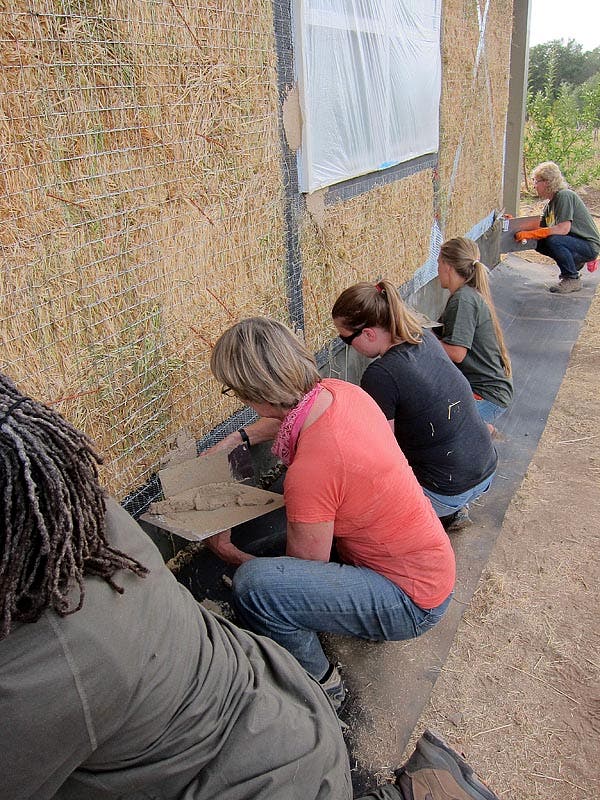
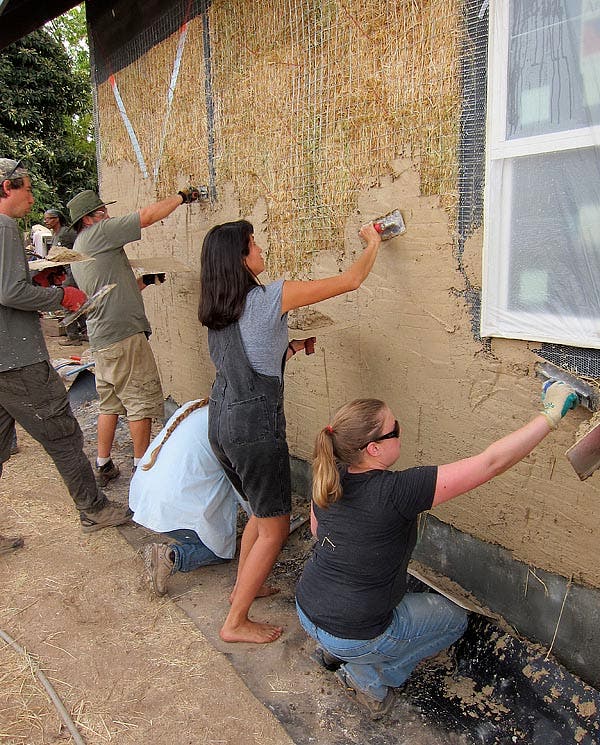
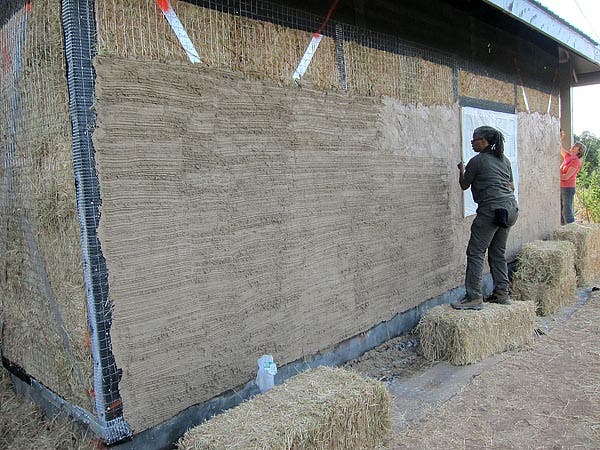
After lunch it was time to mix the first coat of plaster. This is a process in itself as you have to get it just right and it needs to mix for 20 minutes per batch. Once we had a batch ready Andrew demonstrated the technique for holding and applying it to the wall. It is much heavier and more difficult than you might think. Many of us decided that if we were building our out straw bale homes that we would seriously consider hiring this part out to the professionals.
We only succeeded in covering most of one wall and it was time to clean up and say our goodbyes. After a week together sharing in this experience you make many good friends and though we are spread out from the east coast to all the way down under in Australia many of us will keep in contact and share the straw bale projects that are planned to be built by members of the workshop. If you have interest in straw bale construction, I would highly recommend this hands on experience with Andrew Morrison if you are able. Visit strawbale.com.
Thanks to Andrew Morrison and our hosts at Common Kettle Farm for a fine week of learning, good food, new friends and experiences.


I see that OSB/Particle board is being used for the under flooring. Why don’t you use a natural product such as planking? It is as cheap as OSB if you get it from a local sawmill. Most sawmills will do tongue & groove so you can have a smooth, natural underflooring or flooring.
OSB is unnatural and buying it helps fund the mega Big Box hardware stores that are pushing the mom & pop hardware stores out of business.
I really enjoyed viewing all the excellent photos, and believe I could probably build a house using straw for myself with all the knowledge I’ve gained from this website.Many
of the mysteries of straw application have been
solved with the step-by-step presentation.
Thanks very much.
Truman Green
Surrey BC