The guys over at One Project Closer have been putting together expert how-to guides by shadowing contractors on actual job sites, and they call these articles “Pro-Follows.” If you’ve ever wondered how a professional contractor would build a concrete patio or finish a basement, check out their website. They only have a handful of Pro-Follows thus far so be patient as they build up this resource. Here are some pictures from a recent Pro-Follow for how to build a shed. Visit that link for the full story, and if you like what you read, consider subscribing to their feed.
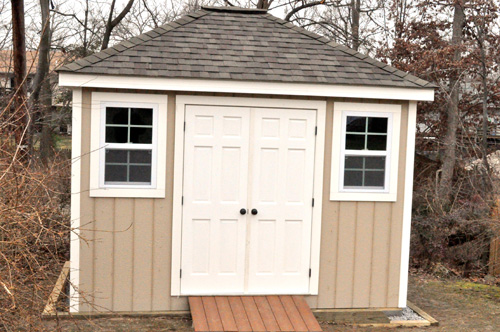
The Foundation
The foundation was built by digging out a space a few inches larger than the shed, and lining the perimeter with pressure treated 4×6’s. Next, they set 10 columns of concrete block on undisturbed ground and back-filled the area with crushed stone. This type of foundation allows them to set the subfloor directly on the concrete block and provides an exit path for water and moisture.
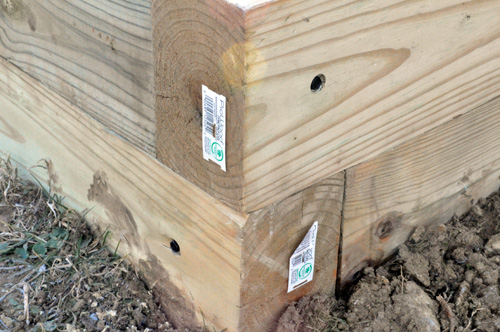
The Subfloor
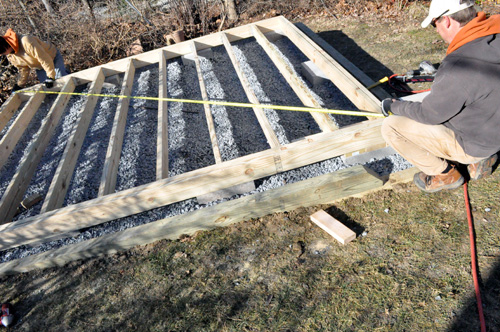
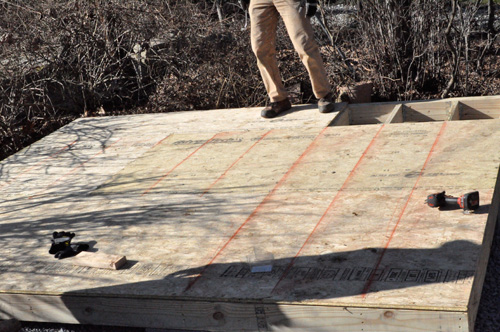
The subfloor features a double band-board construction that provides better structural stability and a wider nailing surface to anchor the walls. You can see the 2×6 joists as they check if the frame is square. In the next picture, most of the Advantec subfloor has been screwed down, and the joist locations have been marked.
Framing and Siding the Walls
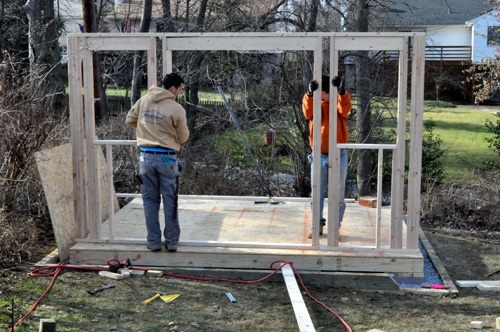
Framing the walls is not very different from framing a house. The windows and doors have headers and all the studs are 16″ oc. Studs that run from the top plate to the bottom plate are called king studs or common studs. The 2×4’s underneath the windows are called creeper studs, and the 2×4’s that support the headers are called jack studs.
Building the Hip Roof
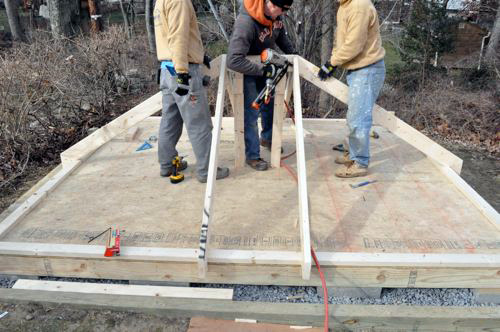
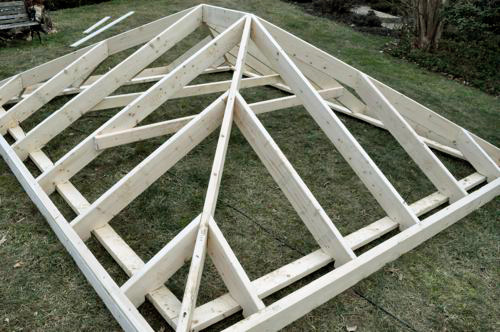
A hip roof is more difficult than other styles (like a gable roof) because it involves so many compound cuts. For that reason, the contractor opted to frame the roof on the ground and move it in place later. Here you can see the crew nailing the six common rafters to the ridge rafter.
Raising the Walls and Roof
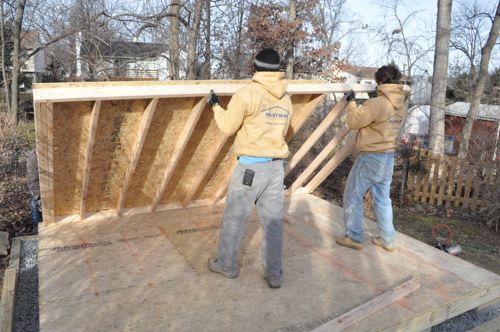
With the hip roof framed out, it’s time to raise the walls. You can see how the siding overlaps the framing to conceal the top plate and band board.
Laying Shingle
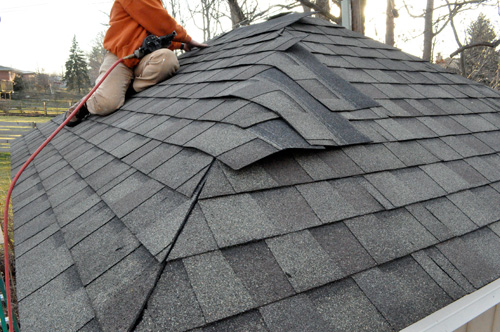
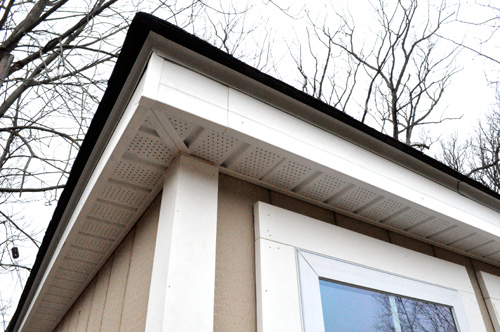
For this shed, they used architectural shingle because the roof will last longer. It’s also a vented roof which means air flows up through the vented soffits and out through the ridge vent at the peak of the roof.
The Windows and Door
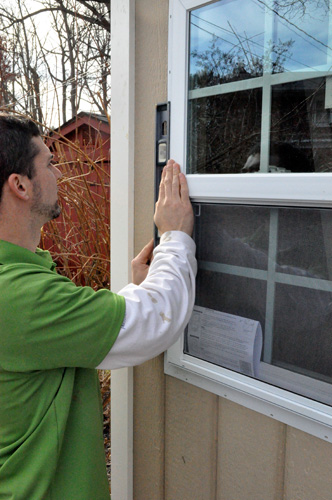
The windows are leveled and fastened to the siding. The door is solid wood and features a Kwikset lock on the right side and a matching knob on the left. They also added slide latches at the top and bottom of the left door.
The Finished Results
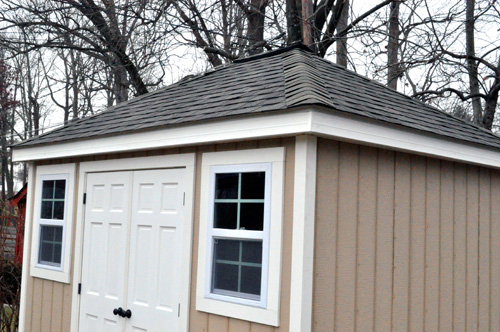
The homeowners are very pleased with the results. The shed looks amazing, and they’ve already started storing things inside.

Great resource Kent… thanks for the info
Great job showing us how to build this. As a sider and soffit / fascia, (second last photo) if they are going to make a 45 angle cut match up with the lines on the soffit, it would look a lot better and cleaner.
Another thing, I never have a short piece of fascia, min of 3 feet, anything less makes it much easier for the wind to blow it off. (be sure to add finishing nails to hold it in place.
What an awesome project! I’m sure there are thousands of families who could make use of this easy resource on shed building. I think a number of the principles and processes you’ve described here are also relevant to those who are looking to create a tree house (I have a friend with kids who have been nagging about this for quite some time – I’ll likely send him your way!).
Excited to read more from you!