A Tiny Home Renovation Story Pt. 1: Flooring

We love our tiny house, but that doesn’t mean it has to stay the same. Over the past few years, we have put our home through the ringer. It has hosted over 50,000 guests, traveled over 46,000 miles and been subjected to all kinds of climates and weather. It’s held up … Read more

The Future of Tiny Housing and the IRC

Likely by now you’ve heard of the proposed tiny house code for IRC 2018. But what are its implications for the future of tiny housing in America? Andrew Morrison, the tiny house luminary behind this historic effort, recently joined us on Tiny House Expedition Radio to discuss the nitty-gritty of the … Read more

Much More Than a Trailer

Custom Tiny House Trailer (Foundation) Manufacturer, Tiny House Advocates & Fun-Loving People Four years ago, Trailer Made Trailers fell into the tiny house industry through an unexpected trailer request from a new builder, Byron Fears of Simblissity Tiny Homes. Since then, they have become the leading tiny house trailer manufacturer in United States. Owners, … Read more

Portable Table Saw

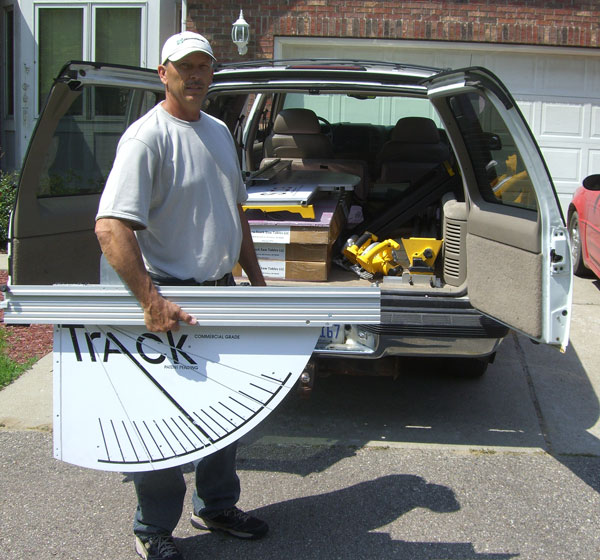
Mel Koresh contacted me recently to share an invention he has developed and he thought tiny house builders might be interested in. I am going to let Mel explain it to you. I’ve been a siding contractor for 11 years here in Michigan (Pro-Tech Siding Contractors) and working as a … Read more

Things to Think About

Di has been responding with a lot of comments on the Tiny House Blog and I thought she had some great ideas of things to think about when looking into downsizing or designing a tiny house. I asked Di to do a guest post and following are her suggestions and ideas.

DIMENSION:

  • Think of the present and future. Try a one-story building.
  • Adjust the height, width and length of a building. An 8′ ceiling may be sufficient.
  • Measure and rearrange interior items. It’s easy to edit a floor plan in MS Paint.
  • A twin bed is 3′ x 6.25′. A double bed is 4′ x 6.25′.
  • Most under-counter appliances are 2′ x 2′.
  • Some stoves/fridges are more narrow.
  • Some fridges/dishwashers are small enough to fit under a kitchen sink.
  • Rather than a porch/deck, store a portable screenhouse and lawn chair in the trunk of your car.

Photo Credits: ProtoHaus

LIGHTING:

  • Rather than rely on lighting, provide adequate daylight.
  • Try windows east, west, north and south.
  • For longer-lasting daylight, try skylights.
  • Use windows/skylights where needed, such as over the bathroom, kitchen counter, bed/couch.
  • For spaciousness, try recessed lighting and deep window sills.
  • Rather than drapes, try a small curtain at the top of a window.
  • For curtains, recycle your favorite fabrics – they’re easy to make, clean and change.
  • Mini blinds are more versatile than shades.

Read more

The Borderless House

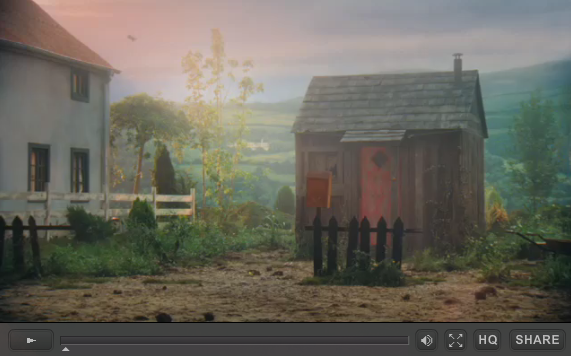
Both Sylvia from the Netherlands and Kai from Germany sent me this cool little movie that is worth taking a few minutes to watch. Kai who has built a tiny Tumbleweed home translates it for us. I’ve found a short film (actually an Ad from Hornbach Germany, a building supplies … Read more

Mobile Solar SolMan

This is a post I wrote for the Tumbleweed blog back a year or so, but I felt the information would be good to have here on the Tiny House Blog too.

Adding Solar to your tiny house can be a daunting task if you are not up to date on all the latest technology and how it works together.

A couple of weeks ago we had a “Meeting of the Tiny Minds” and Bill Kastrinos of Tortoise Shell Homes told Jay, Stephen, Michael and I about this great solar solution that was out there.

What if there was a simple solution to this and all you had to do was plug and play? SoleMan a company based in Willits, California has come up with just that kind of solution.

They call their system the “one small, easy to move, all in one integrated unit, ready to point towards the sun at your best location, and deliver up to 1200 watts of AC power, and 12 volts DC power, and even charge all your Ni-Mh smaller batteries.”

This little unit is on heavy duty bicycle wheels so you can have your Tumbleweed home in the shade and easily roll your solar unit where it gets the most sun.

Read more

Phase II: Wall and Roof Framing

Todd Miller from the Oregon Cottage Company is building another cottage and is sharing with us a series of the steps involved in building a tiny cottage on wheels. You can view Phase I: Subfloor Sandwich System here. Phase II is on wall and roof framing.

Anchoring:
I Begin this phase of construction by making sure I have enough hold down hardware to anchor my wall sill plates to the trailer frame. I use anchor bolts not only tie the sill plate to the subfloor system but to also insure that the system is tied to the trailers frame. I use 5/8” Galvanized through bolts with 2”x2”x ¼” thick steel square washers on the sill plates and 5/8” galvanized cut washers with lock nuts on the underside of the trailer. Since the bolts will be penetrating through both sides of ¼” tube steel I make sure I have a sharp bit with a spare sitting in my bit box. I also recommend another option of using HDU or PHD simpson ties in unison with the through bolts. Then I set my 2×4 wall sill plates and nail them down with 3” nails.

Making sure I hit the 2×4 spacers below the ¾” plywood. Then I locate the anchor bolts. I locate my anchor bolts within 12” of each corner and space them no greater than 36” apart from each other where the sills make contact with the subfloor system. This is the first step in insuring that the wall system will be secured to the trailer frame. The other hold down hardware will include strapping and will be touched upon latter in the next construction phase.

Read more